
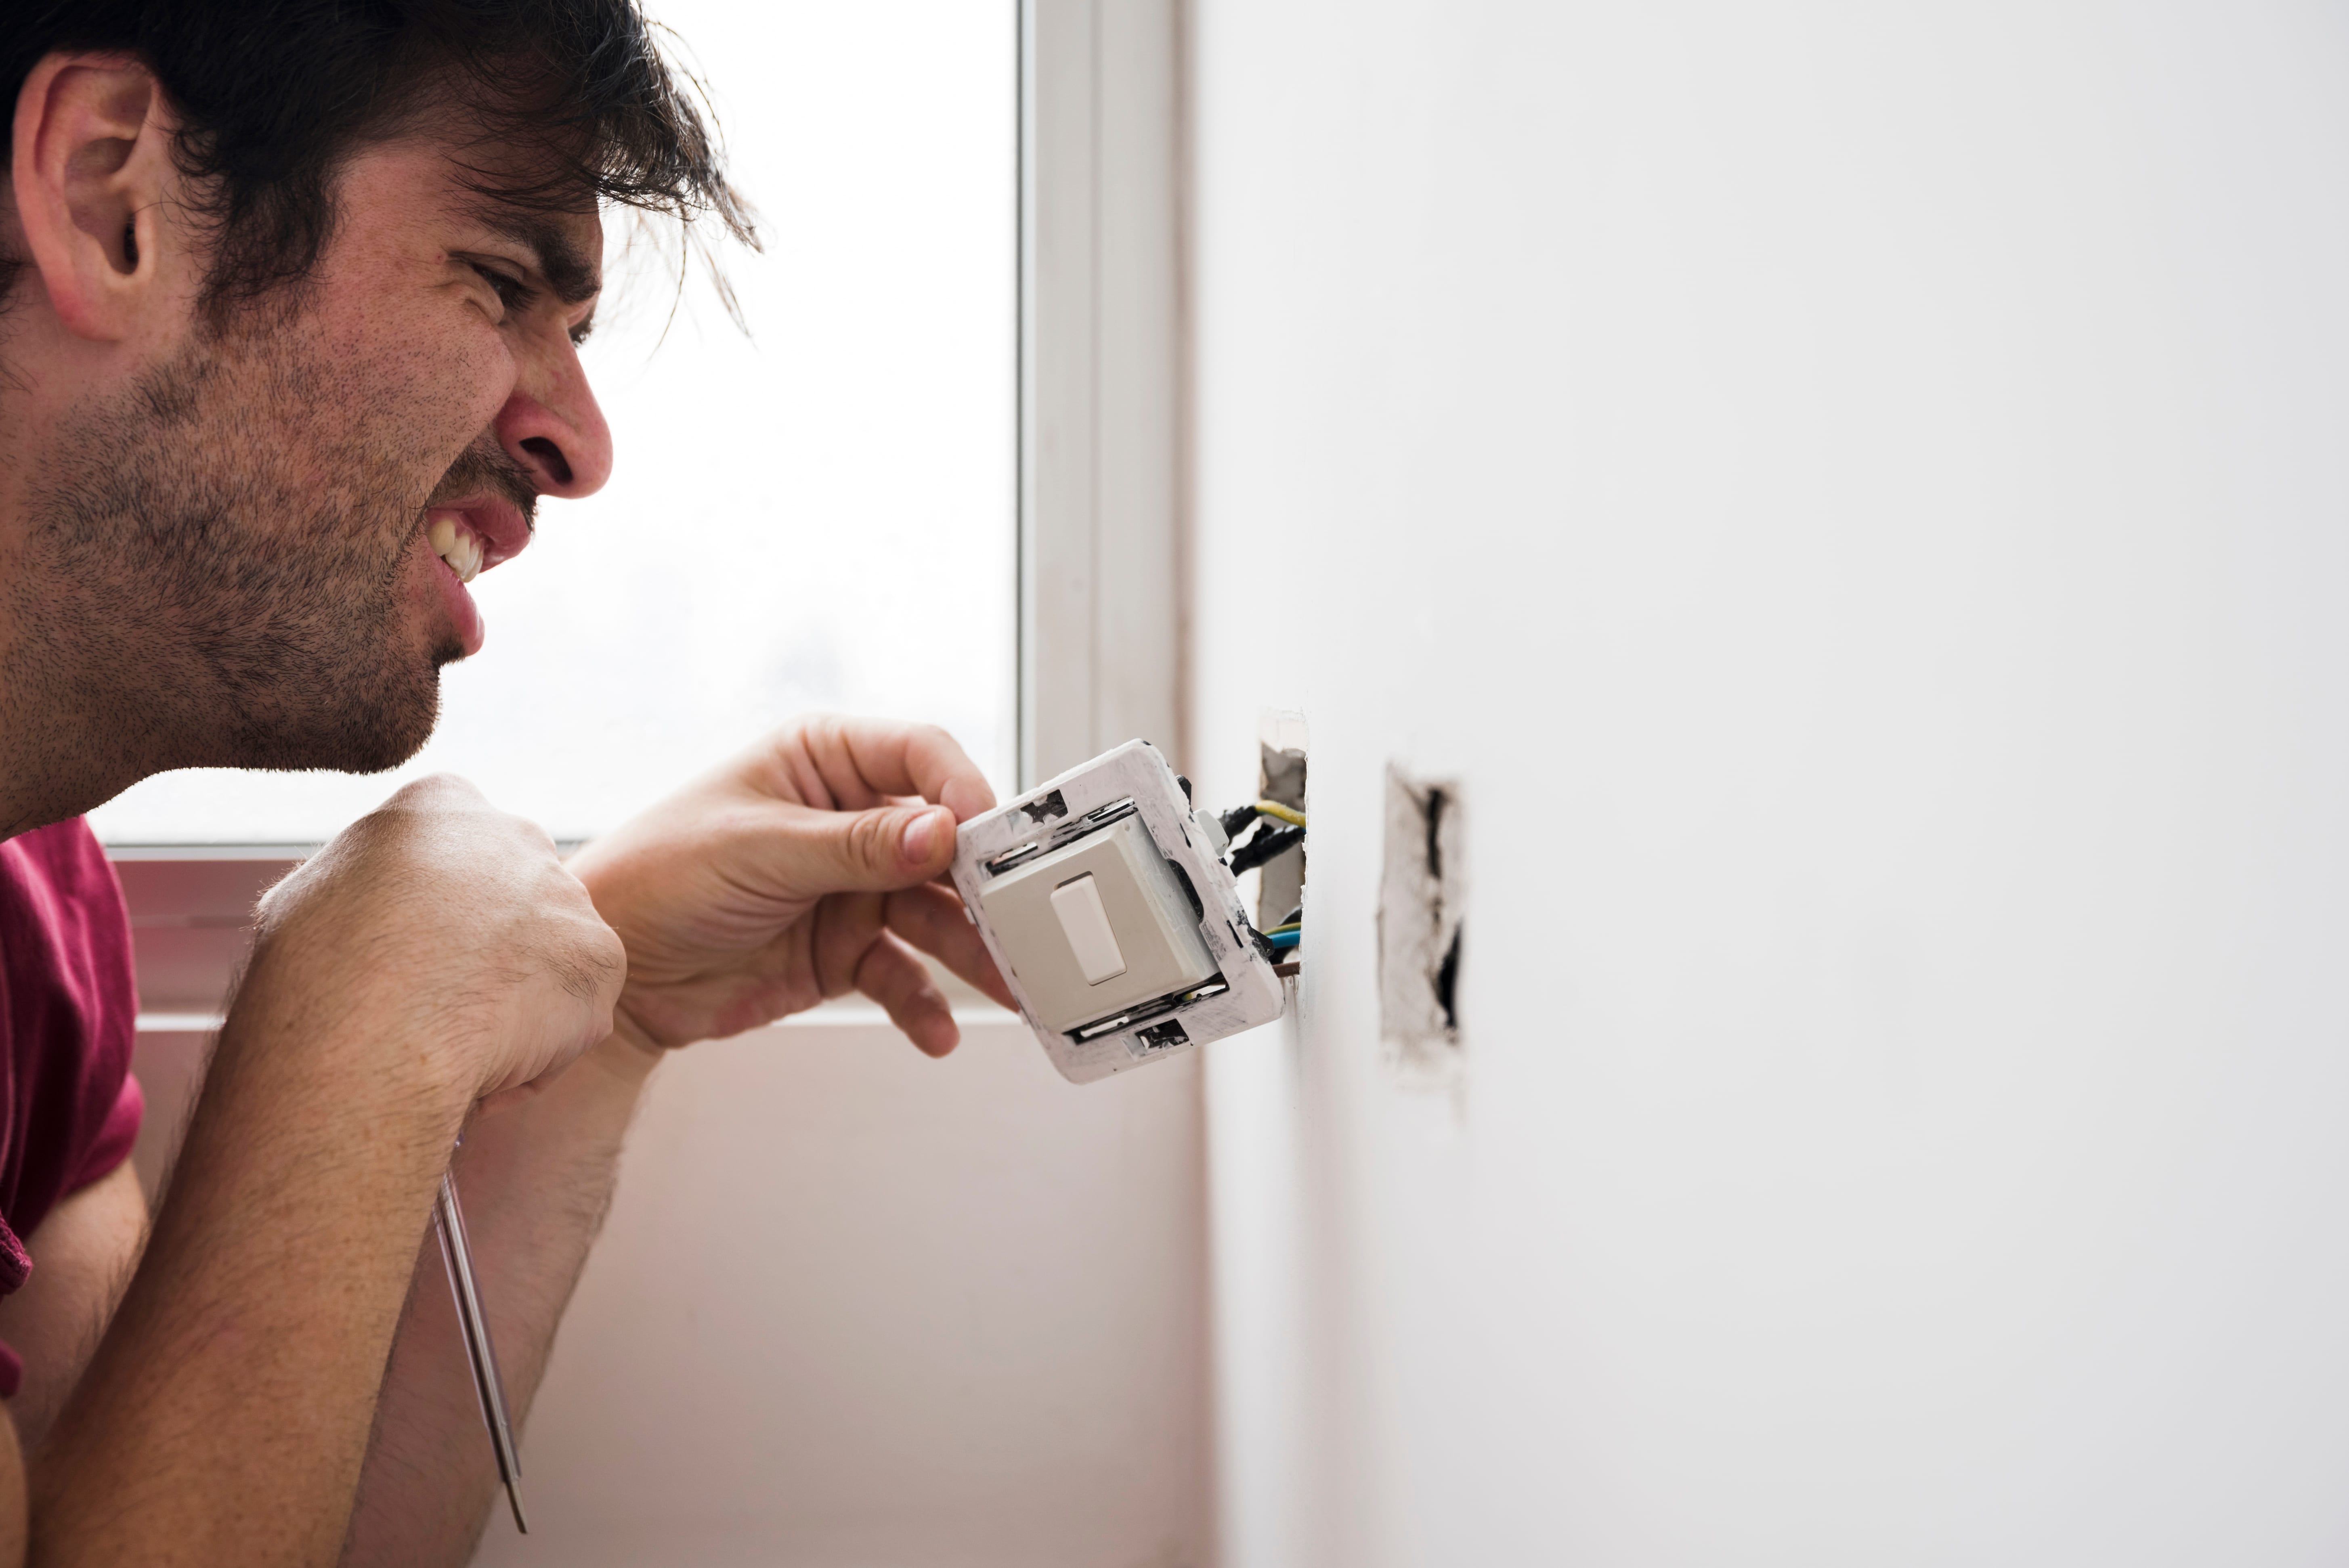
Installing electrical switches is a basic, but crucial task for any electrician, whether beginner or experienced. In this detailed tutorial, we will explore the fundamental steps to carry out this task safely and efficiently.
Step 1: Preparation and Safety
Before starting any electrical work, it is essential to take security measures . Be sure to disconnect the main power source and use personal protective equipment, including gloves and safety glasses. Safety is the number one priority in any electrical project.
Source: "Electrical Safety Regulations for Workers" - OSHA.
Step 2: Switch Identification
Each switch has a specific purpose, whether for lights, outlets, or other devices. Before you begin, identify the switch you plan to replace and note its function. This will make installing the new switch easier.
Source: "Practical Guide to Switch Identification" - National Electrical Code (NEC).
Step 3: Disconnect Power
Once the switch is identified, turn off the power at the breaker box. This can be achieved by turning off the corresponding key on the center panel. Use a test lamp to ensure the power is completely off before continuing.
Source: "Safe Procedures for Power Disconnection" - NFPA 70E.
Step 4: Removal of the old switch
Use a screwdriver to remove the old switch plate and unscrew the connected wires. Be sure to remember the location of each wire for proper installation of the new switch.
Source: "Tools and Techniques for Switch Removal" - Electrical Safety Foundation International (ESFI).
Step 5 – Preparing the New Switch
Before connecting the new switch, verify that it is compatible with your electrical system and complies with local regulations. Prepare the cables by carefully stripping them and making sure they are in good condition.
Source: "Specifications and Standards for Residential Switches" - NEC.
Step 6: Connecting the New Switch
With the wires prepared, connect each wire to the corresponding terminal on the new switch. Be sure to tighten the screws securely to avoid loose connections that could generate heat and pose a risk.
Source: "Secure Connection Techniques for Switches" - ESFI.
Step 7 – Installing the New Switch in the Box
Make sure to fix the cables in their new position correctly. In Argentina, the colors black, brown or gray indicate the phase; while the neutral is blue; On the other hand, the ground wire is usually two-color, green and yellow.
Place the new switch in the box and screw it in tightly. Make sure it is level and flush with the wall. Replace the switch plate and tighten the screws.
Source: "Procedures for Safe Installation of Switches" - OSHA.
Step 8: Power Restoration
Once the new switch is installed correctly, restore power to the electrical panel. Verify switch operation by testing connected lights or other devices. If everything works as it should, you have successfully completed the installation!
This tutorial provides a step-by-step guide for beginners in installing electrical switches. Always remember to follow safety regulations and, if you have any questions, seek the guidance of an electrical professional.
Note: This tutorial is informational and is not a substitute for guidance from a certified electrical professional. Always check local electrical codes and regulations before performing any electrical work.
PyP Electricidad — We connect energy and quality.